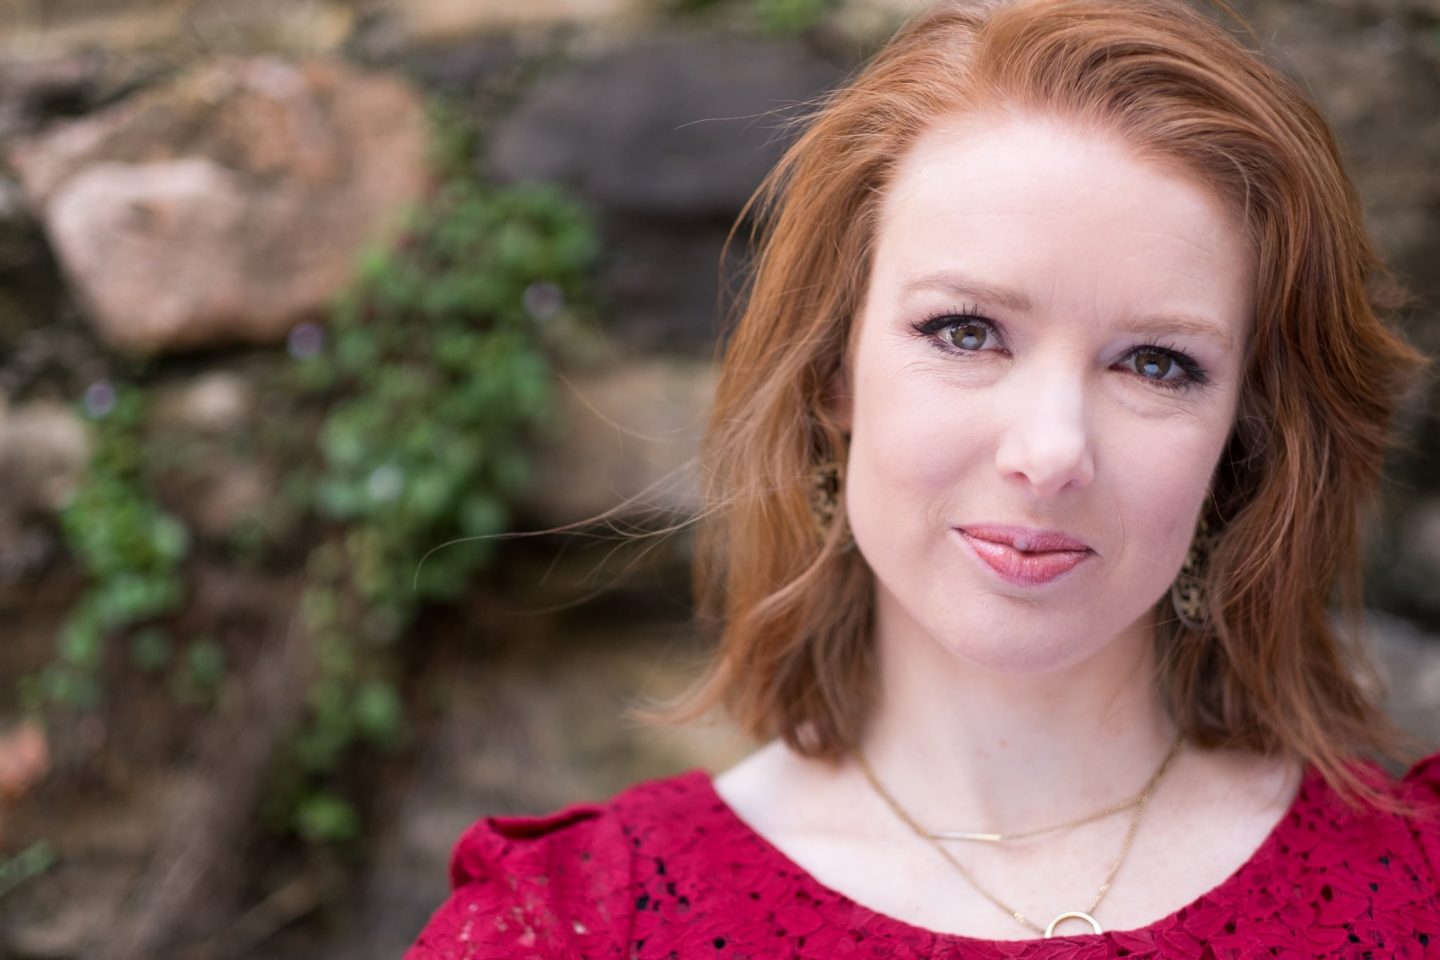
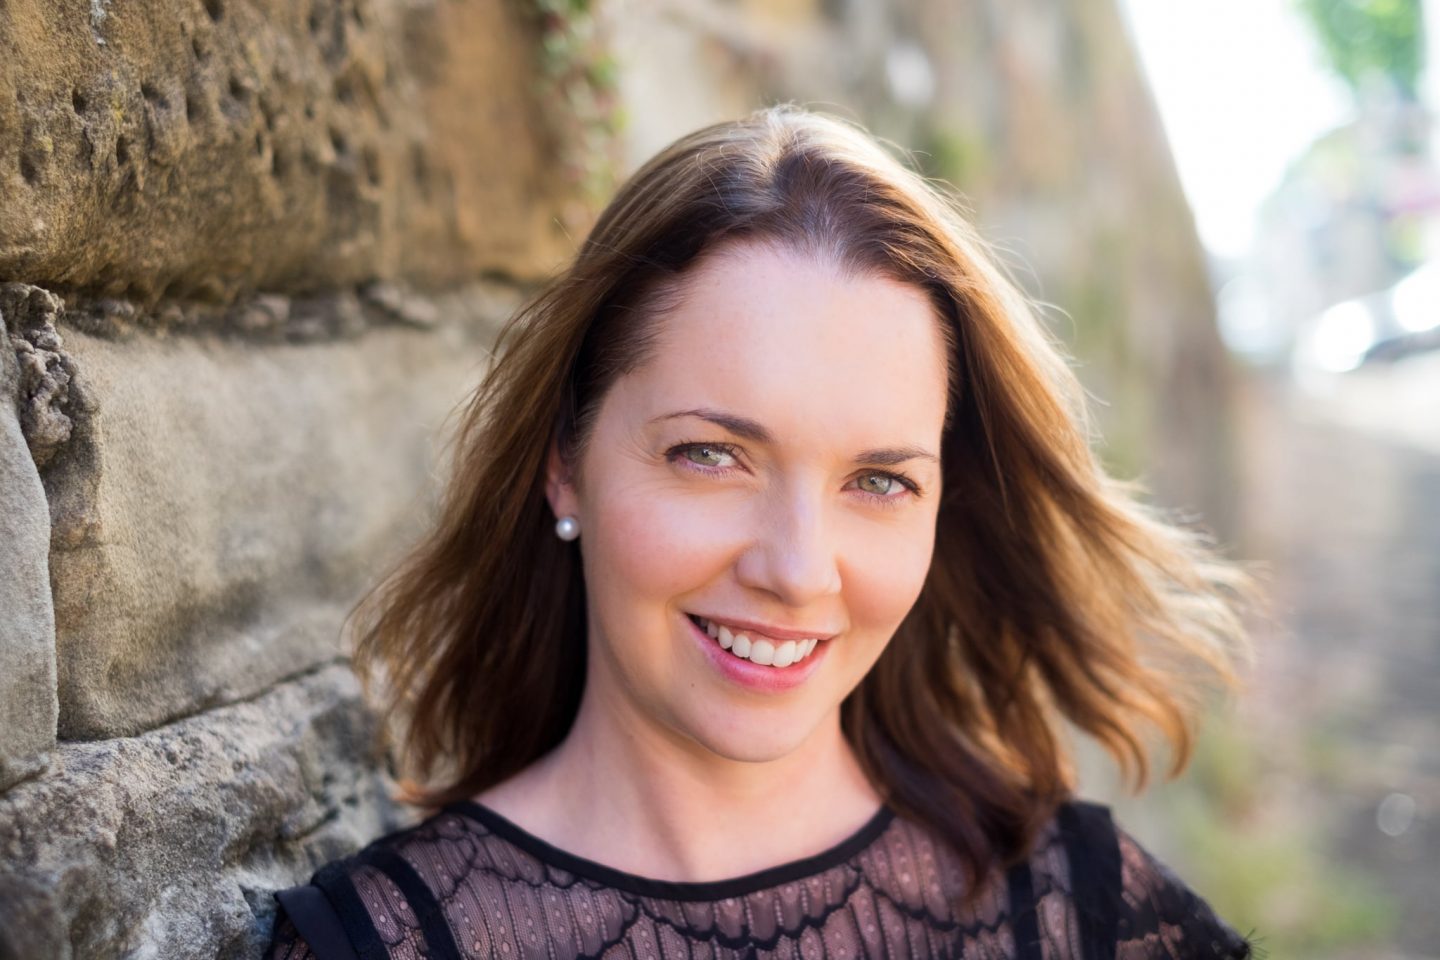
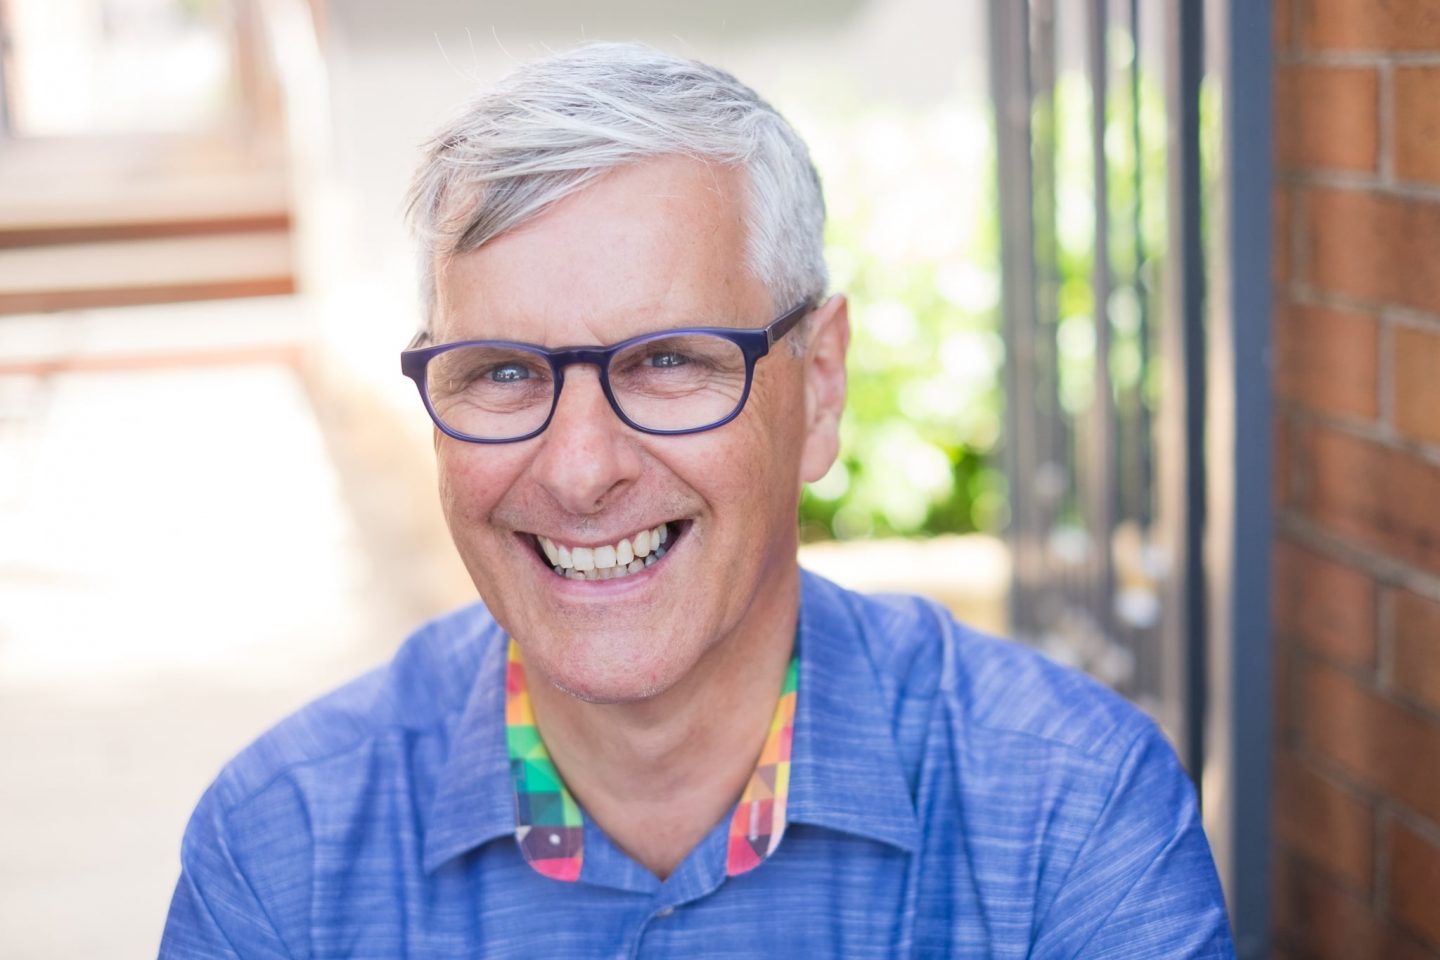
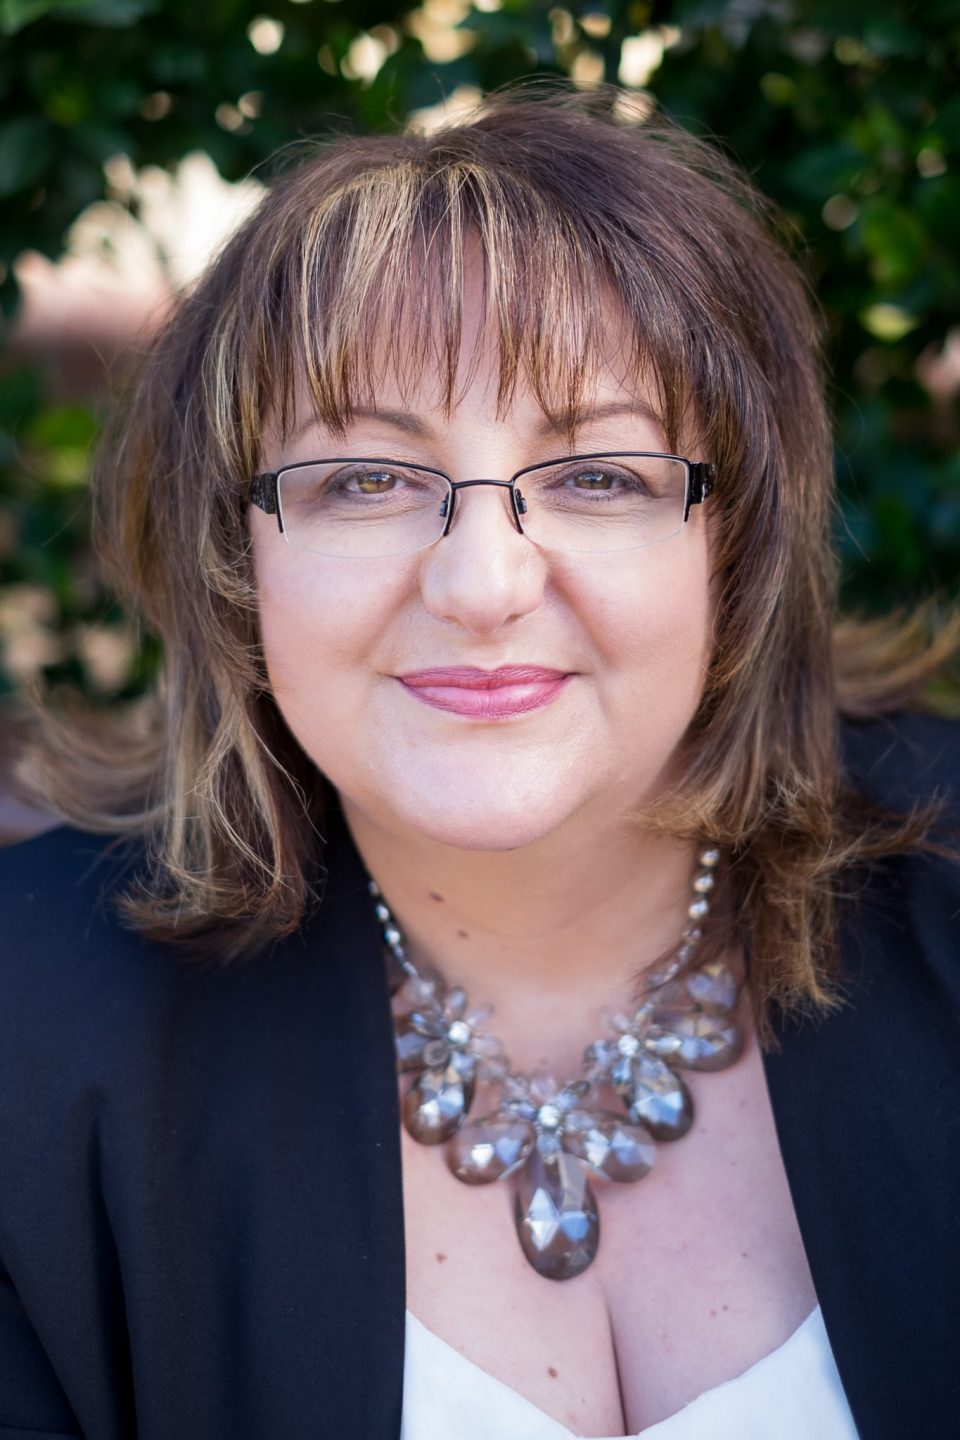
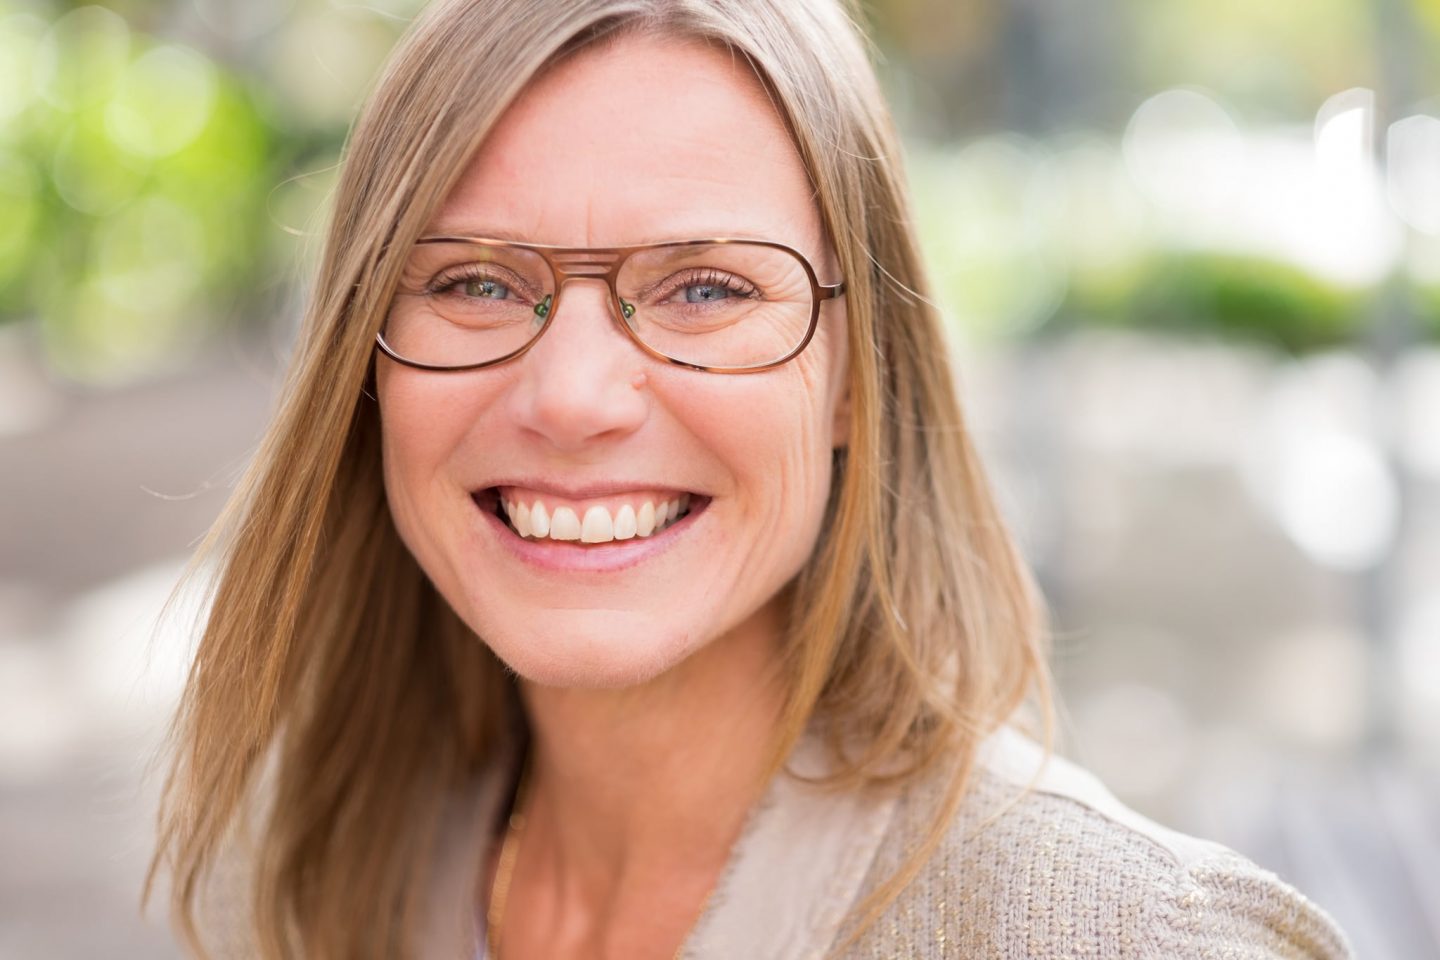
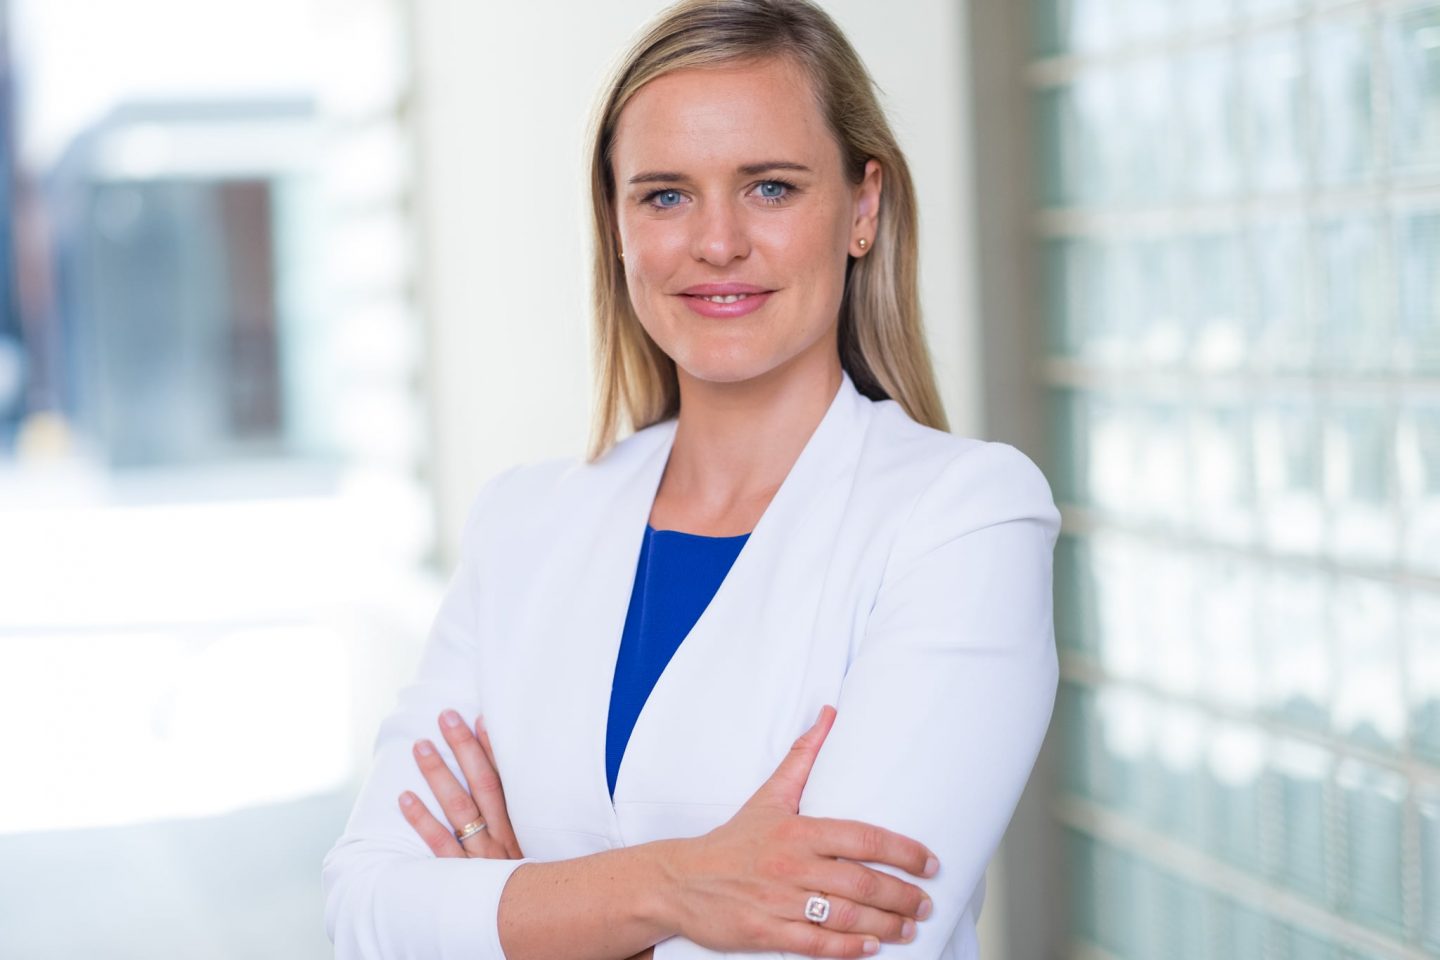
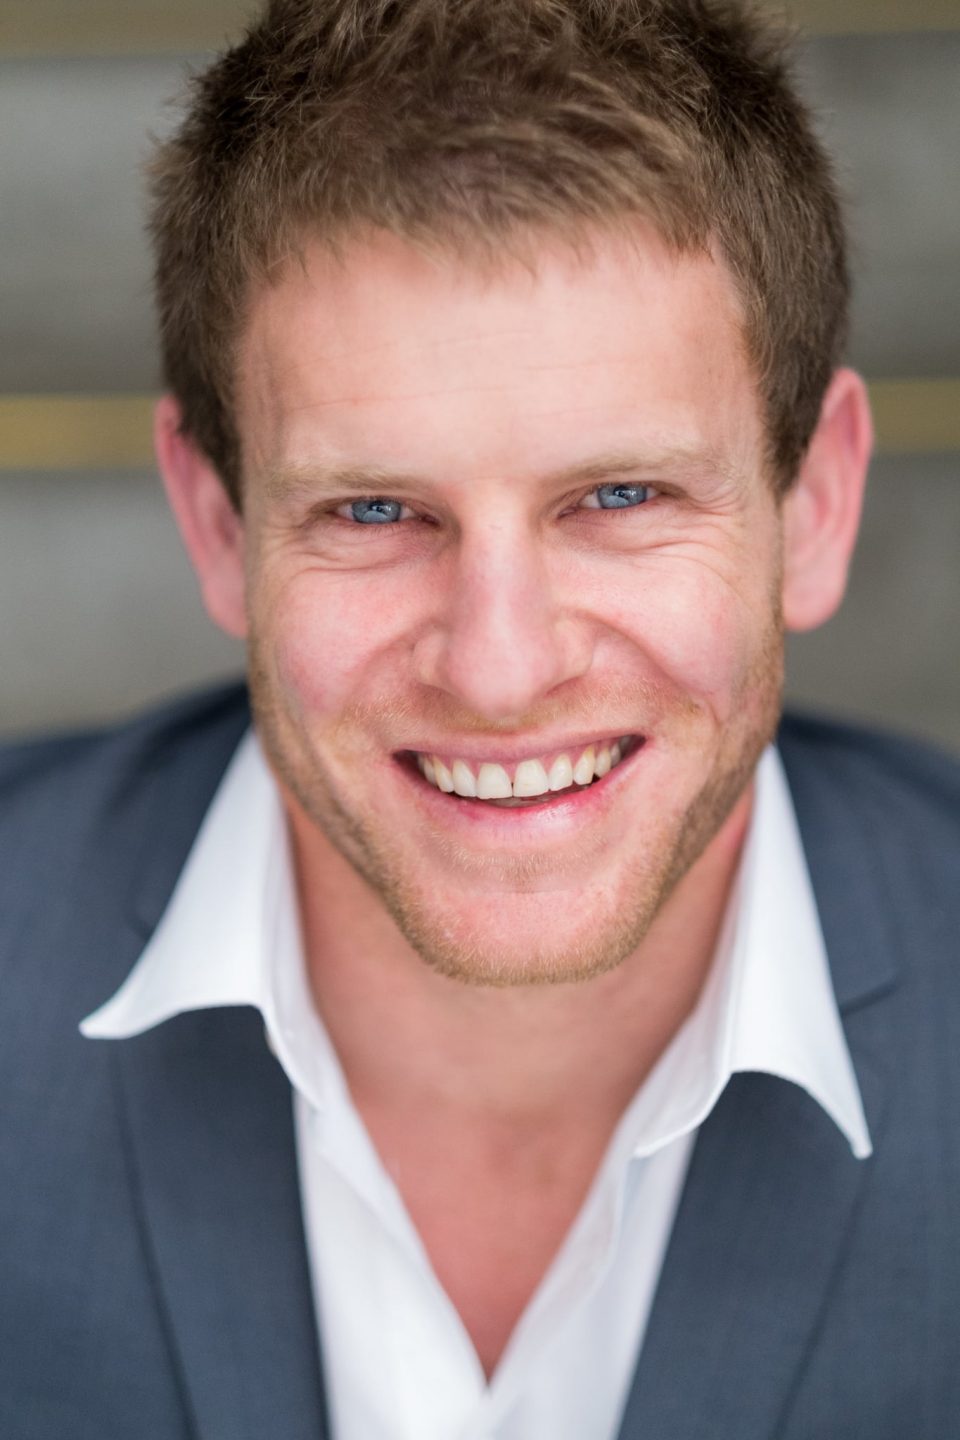
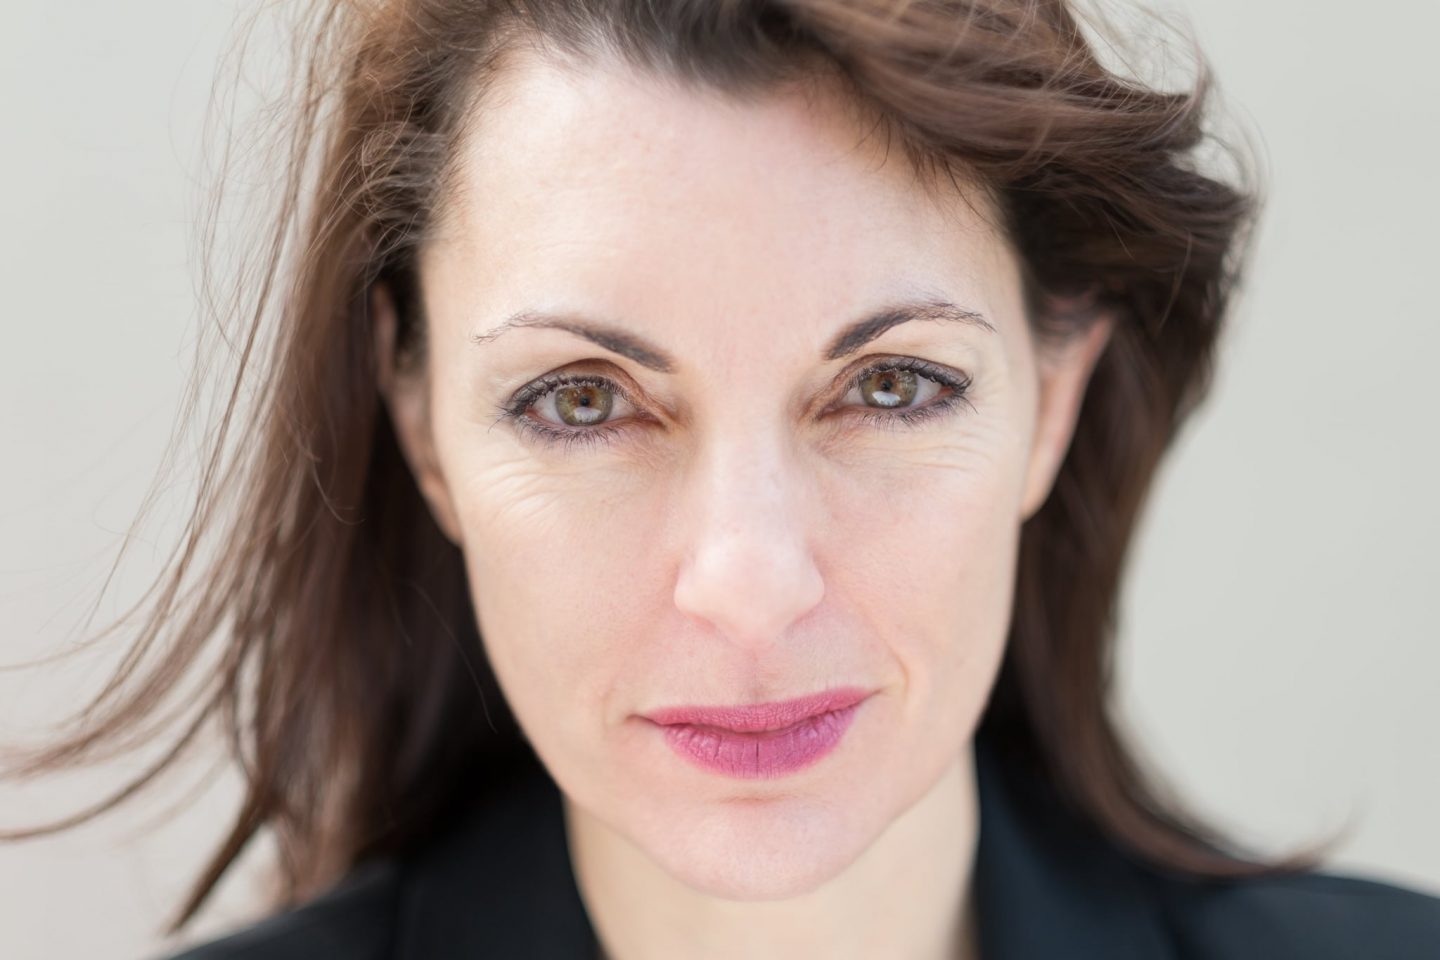
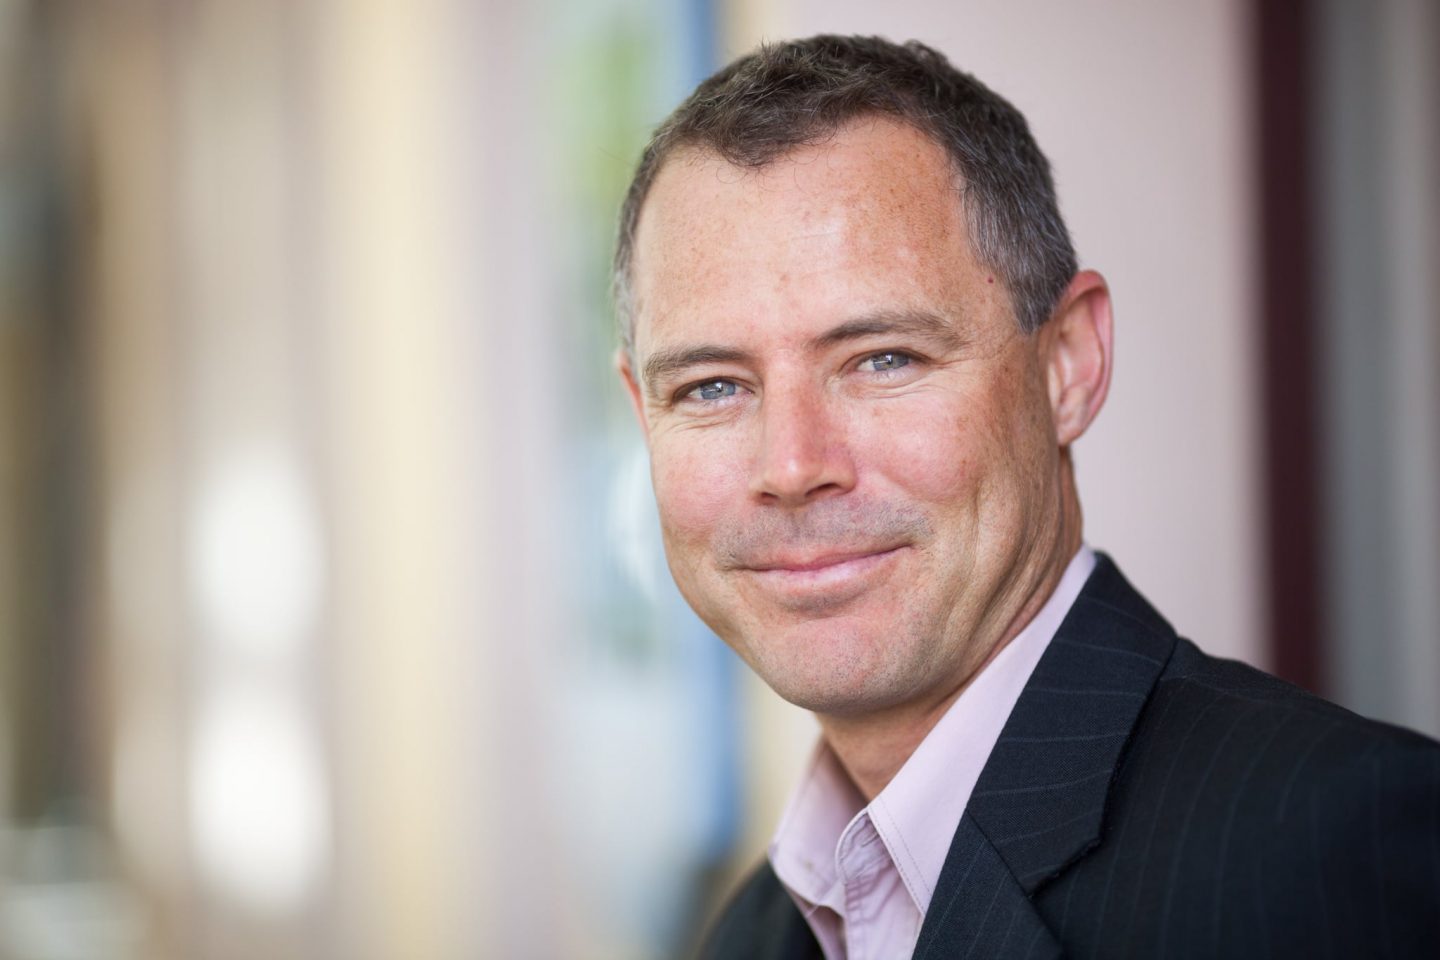
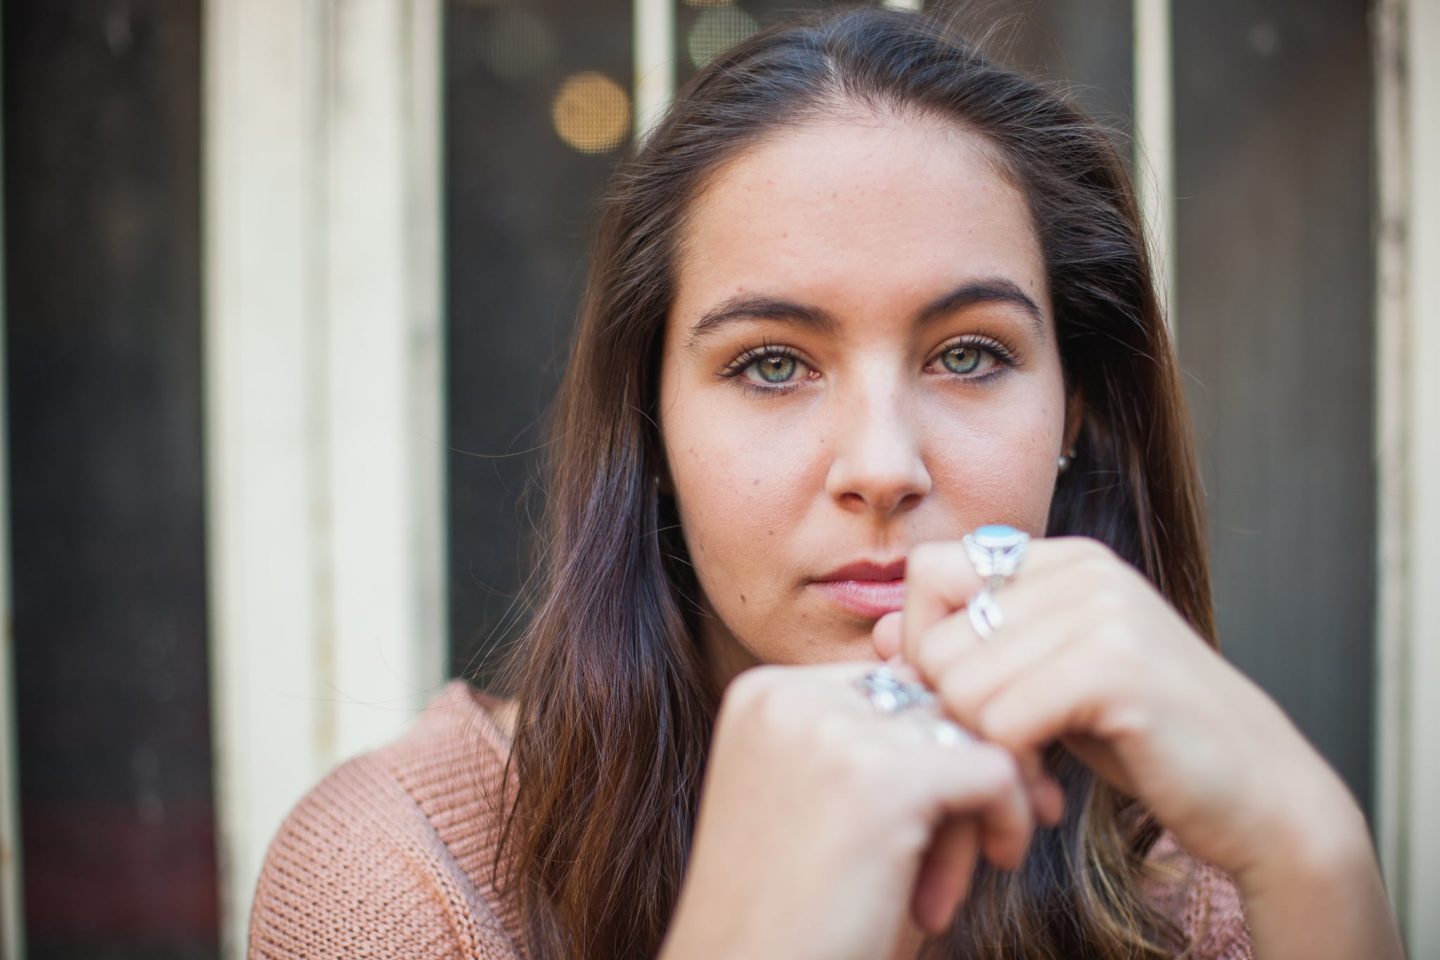
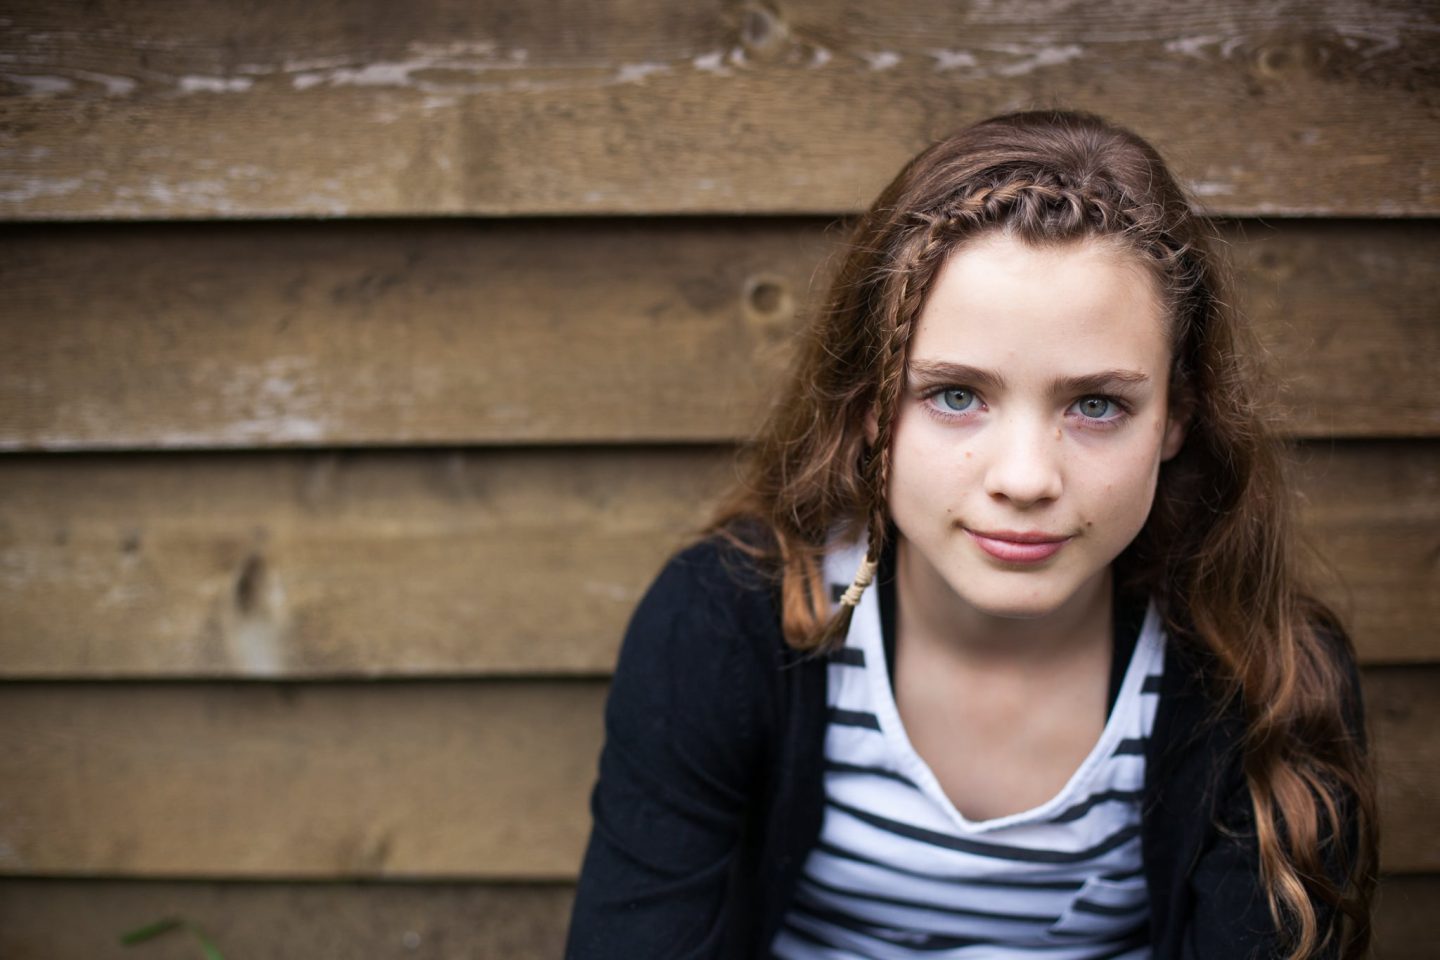
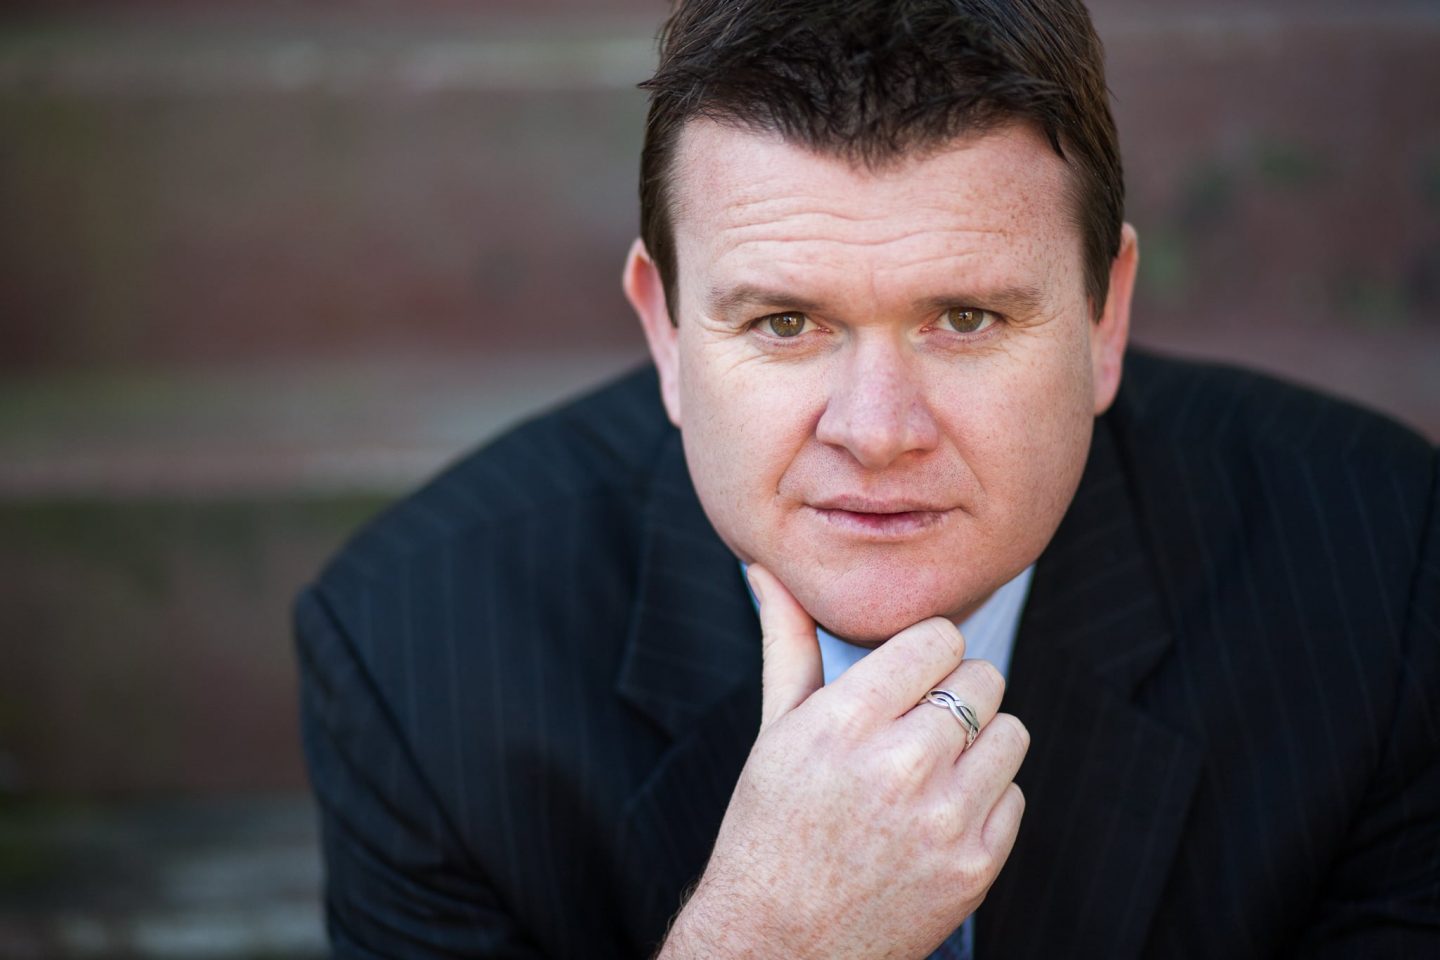
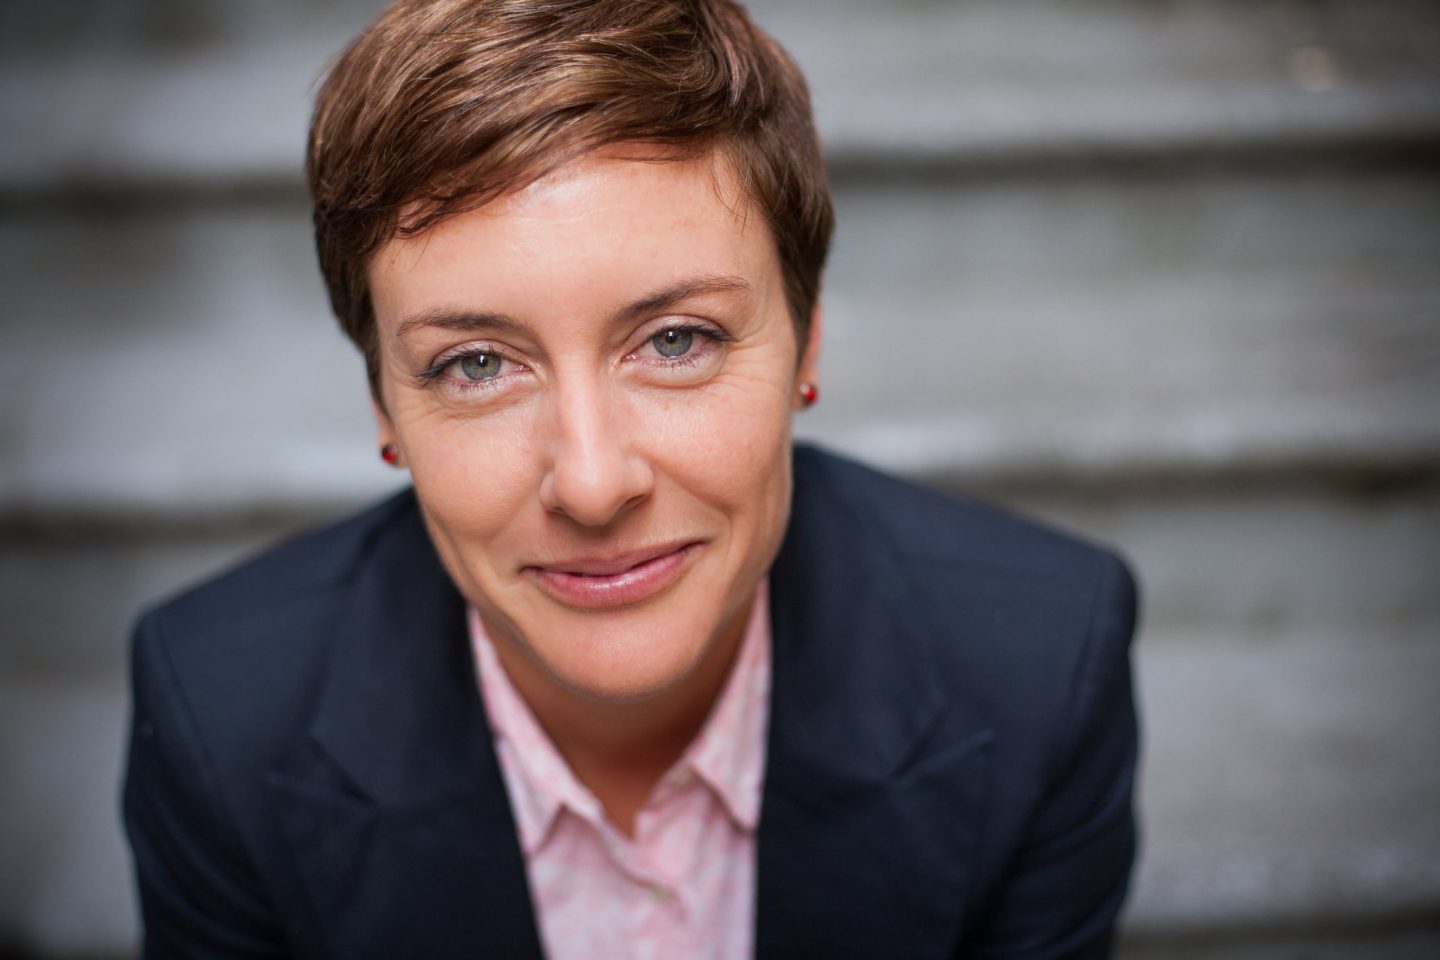
Quality headshots aren’t just for actors and models–they’re a powerful branding and trust-building opportunity for professionals in every industry.
I’m Luke Arms, and I’ve been photographing headshots since 2011. I’ve worked with builders, engineers, corporate executives, health professionals, politicians, writers, musicians, models, actors, and more.
I’m known for my unique use of available light in almost any location (although I do have some favourite places). I take the time to relax with each of my clients, so that even the most camera-shy people walk away with photos that are an honest representation of themselves. I also collaborate with marketers and designers to ensure the images are suitable for every possible use case.
Most of my upcoming headshot openings are in Newcastle or Sydney, but I also book sessions elsewhere in Australia, so if you’d like to work with me in Melbourne, Canberra, or beyond, please contact me directly.
Individual headshots
$360 inc GST (additional images $60 each)
- up to 90 minutes of photography
- 2-4 different looks
- 30-60 images, unprocessed, presented in a secure online gallery within 2 business days
- your 4 favourite images, fully processed in both colour and black & white, delivered as high-resolution JPEGs within 2 business days of finalising your selection
Headshots for teams
From $540 inc GST
Individual headshot sessions with each member of your team might be unnecessary, especially if you only need one or two consistent-but-unique photos of each person.
I’m happy to provide a quote for a session tailored to your requirements.